Monday, 4 June 2018
All Gone!
This is all that remains of the first 3 raised and covered vegetable garden beds that have been removed. All that soil looks good, but it is dry, sandy and thick with roots from the trees that you can see in the background, especially from the Rubber tree on the left which started out as an indoor pot plant! There are another 3 beds to be dismantled, with another one already gone in another part of the garden.
Sunday, 3 June 2018
Things Come and Things Go.
Some years ago these raised and enclosed vegetable garden beds built in our garden. The idea was to keep out the marauding possums, birds and rats who consistently ate our produce. Well that worked for all but the rats, who just ate through the mesh at the front or crawled up underneath it. The ends and tops of the cages were of aviary wire, but we had to be able to harvest the veggies ourselves, hence the woven heavy twine 'curtains'.
We persevered for about 7 years, but in the end it wasn't the rats that made us decide to dismantle the beds, but the fact that the supposedly long lasting and 'eco timber' surrounds started to rot away. Above you can see the custom made shade cloth covers that protected the vegetables through our scorching summers. These were huge and heavy, taking 2 people quite a while to put into place.
The penultimate photo of the dismantled beds in the southern end of the vegetable garden. What a job that was to unscrew, unbolt and take apart the super structure. Big decisions now about what to do next, as we still want to grow vegetables, but not to lose almost all of it to the animals!
We persevered for about 7 years, but in the end it wasn't the rats that made us decide to dismantle the beds, but the fact that the supposedly long lasting and 'eco timber' surrounds started to rot away. Above you can see the custom made shade cloth covers that protected the vegetables through our scorching summers. These were huge and heavy, taking 2 people quite a while to put into place.
The penultimate photo of the dismantled beds in the southern end of the vegetable garden. What a job that was to unscrew, unbolt and take apart the super structure. Big decisions now about what to do next, as we still want to grow vegetables, but not to lose almost all of it to the animals!
Friday, 1 June 2018
Photoshop Play.
With no time to set up for more printing so far this week, I had a play with one of the collagraph plates in Photoshop. The one above reminds me of looking out from a camp site at night with the light on the nearby vegetation and the darkness beyond.
This is another version, looking much colder and with the added moon and it's glow, more of the background hills are visible.
Tuesday, 29 May 2018
First Prints.
With a couple of free hours this afternoon I did a speedy print from two of the new collagraph plates. This first one above is not very successful, mainly I think because there is too much difference in the height of the various bits of vegetation. The leaves are very flat, but the stems are quite thick, so the paint accumulates on the sides of the stems and the leaves are quite indistinct. I might try to pare down the stems and have another try.
This is much more successful, with some nice marks made by the flower heads and the pieces of stringy bark in the fore ground. I might try painting this one in water colours perhaps.
Sunday, 27 May 2018
'Moth Mandala'
This is my print called 'Moth Mandala' currently on exhibition at Il Bisonte in Florence Italy.
I carved 3 different sizes of the moths, although I ended up using only the 2 smaller ones. The hardest part was dividing the paper up mathematically! The artists were supplied with 7 sheets of the printing paper (50 cm x 70 cm), but only 5 were required. Even allowing for 2 mistake copies, it was nerve wracking to say the least trying to get 5 copies as perfect as possible.
Saturday, 26 May 2018
New Collagraph Plates.
Now that these 3 plates are sealed with shellac and nice and dry, I can't wait to make prints from them. This one above is a collection of weed seed heads gathered from an unkempt nature strip outside a building site. I pressed them flat for a couple of weeks and then glued them in place on the mount board with some added coarse saw dust for texture at the lower front. They have had several coats of shellac and the back of the board has also been sealed.
This one has been partially finished for some months, with the background hills, saw dust vegetation and gauze in front of the hills. It never looked quite right, so now I've glued some tall weed flower heads and some fibrous bits of gum tree bark in the foreground. Again the weed flowers had been pressed flat for some months and the bark was very dry.
This is another old plate that I have added to as I didn't like the earlier version. I had a mental image of a water feature in the middle front area with rocks around it, but it didn't print very convincingly, so now I've added some small flower heads and some coarse saw dust. All I need now is time to have a printing session!
This one has been partially finished for some months, with the background hills, saw dust vegetation and gauze in front of the hills. It never looked quite right, so now I've glued some tall weed flower heads and some fibrous bits of gum tree bark in the foreground. Again the weed flowers had been pressed flat for some months and the bark was very dry.
This is another old plate that I have added to as I didn't like the earlier version. I had a mental image of a water feature in the middle front area with rocks around it, but it didn't print very convincingly, so now I've added some small flower heads and some coarse saw dust. All I need now is time to have a printing session!
Friday, 25 May 2018
Much Better!
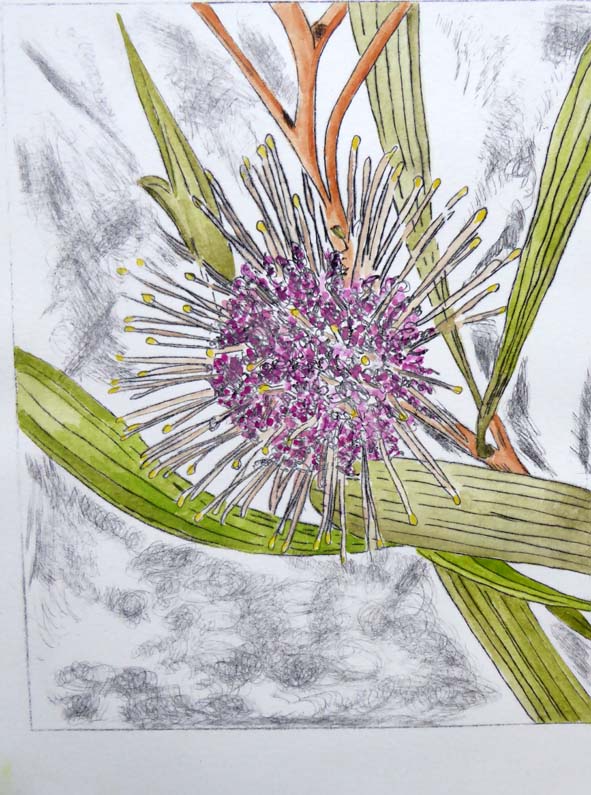
I took my courage in both hands and painted the last of my Pincushion Hakea prints. I could of course print more, but as usual I am anxious to move onto other projects. I don't think that I'll colour the background this time either.
Tuesday, 22 May 2018
A Spot of Water Colour.
Using the lightest print from my etchings, I attempted to colour the print with watercolour paint.
I didn't want the colour to be too strong, but this is perhaps a bit wishy washy. It's a bit hard to know just what to do with the scribbled background, perhaps I'll stamp over it with some random leaf shapes. Anyway this is just a trial, with the final print still waiting to be painted..........or not at a later stage.
Subscribe to:
Posts (Atom)